Looking for skin care that’s gentle, effective, and close to nature? This guide shares practical herbal skincare tips you can use today. It’s written in clear, easy English, with helpful steps and zero fluff—so you can get results without confusion.
What “Herbal” Really Means (and What It Doesn’t)
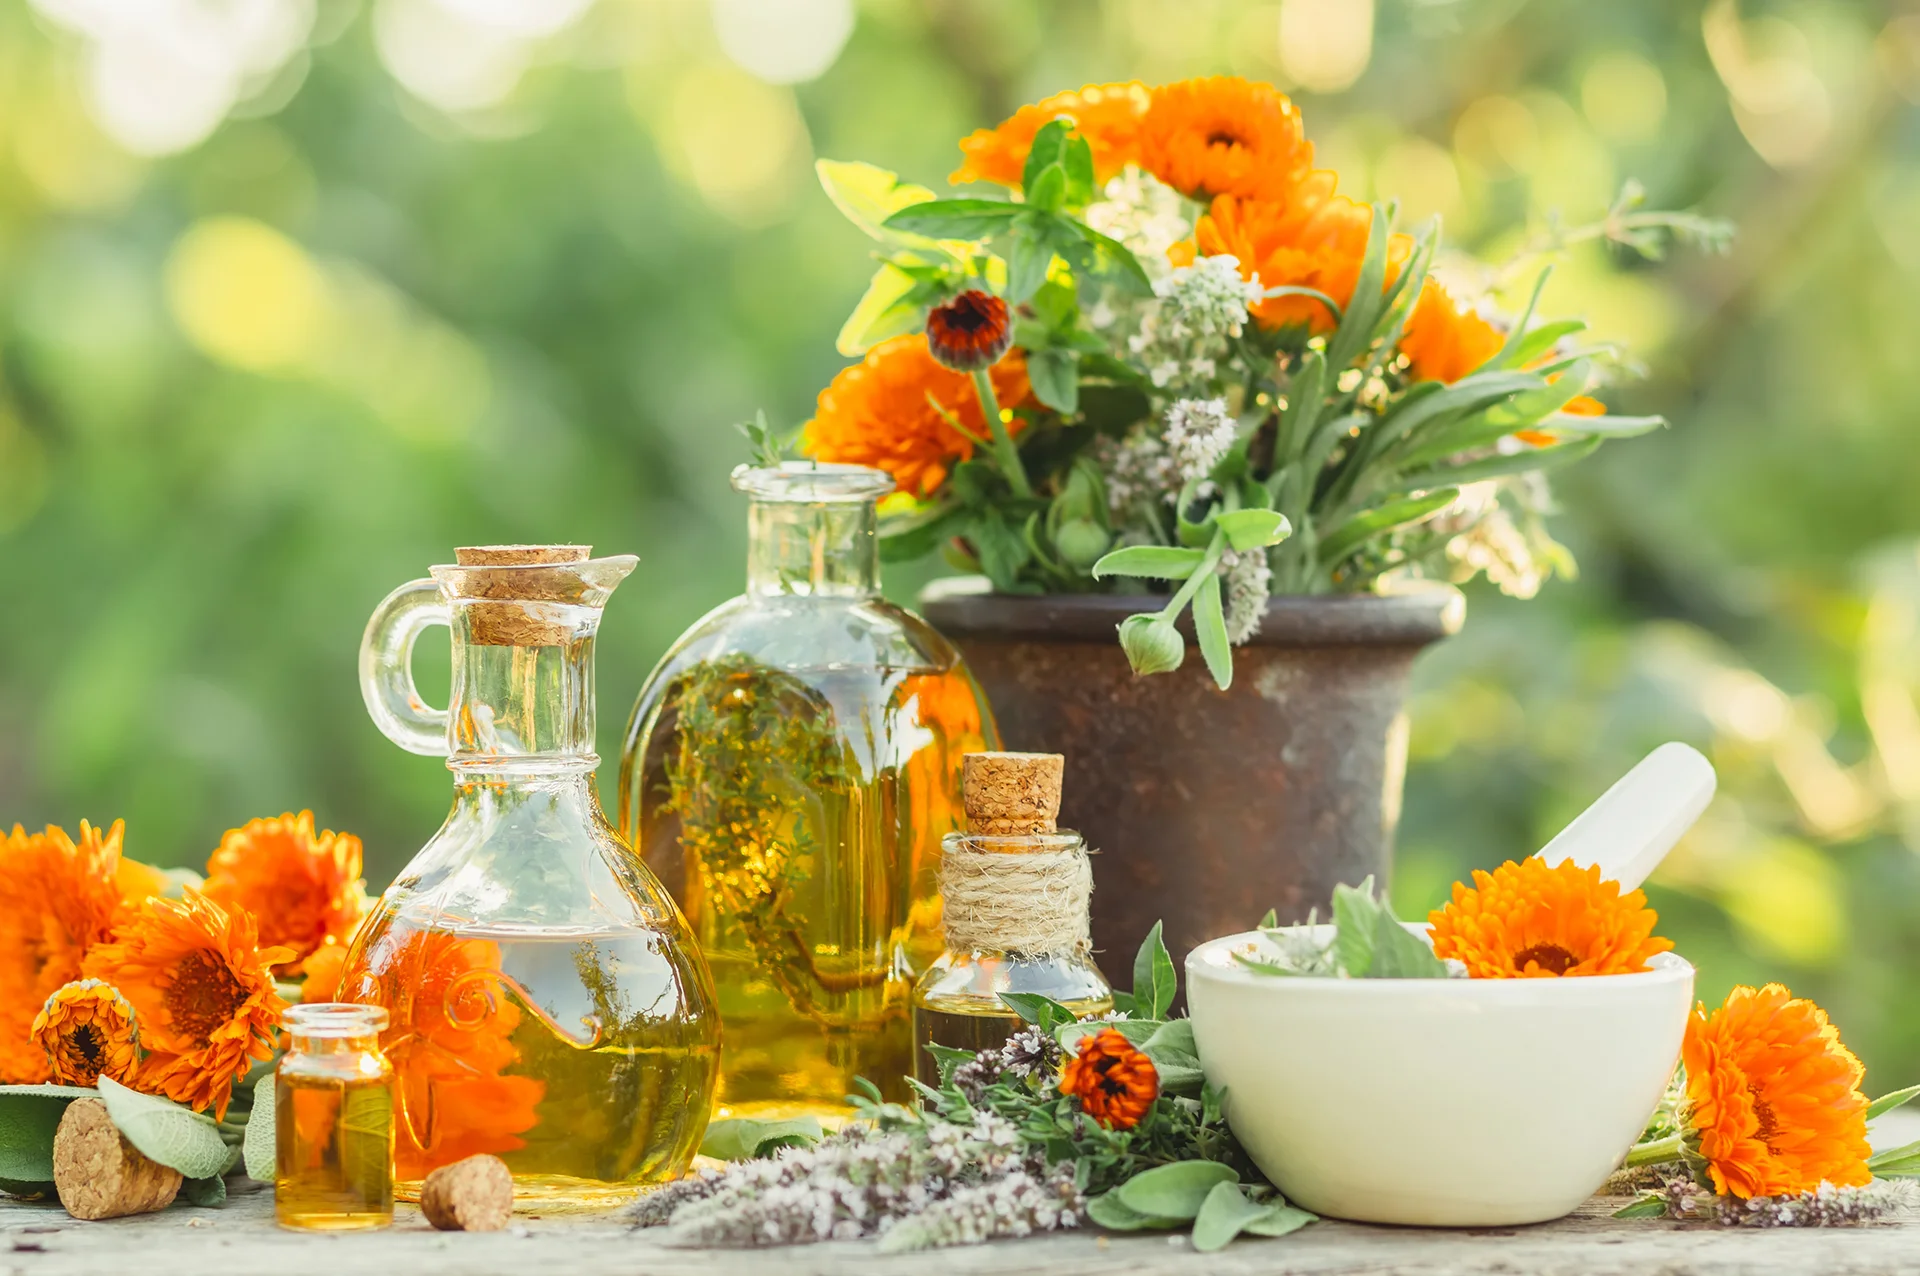
“Herbal” means products or DIY recipes that use plant parts (leaves, flowers, roots, seeds) or their extracts. It doesn’t automatically mean risk-free or better for every skin type. Plants have active compounds—great when used right, irritating when used wrong. Treat herbs like actives: start slow, patch test, and watch your skin.
Benefits You Can Expect from Plant-Based Care
- Gentle support for the skin barrier: aloe vera, oats, and calendula can calm irritation.
- Antioxidant protection: green tea, rosemary, and pomegranate help defend against daily stressors.
- Oil balance and clarity: tea tree, neem, and willow bark (a natural BHA source) can target blemishes.
- Tone and glow: licorice root and turmeric can brighten the look of dark spots over time.
Results build gradually—think weeks, not days.
Patch Testing: The First Herbal Rule
Before using any new herb or blend:
- Apply a rice-grain amount to the inner arm or behind the ear.
- Wait 24–48 hours.
- If you notice redness, burning, or bumps, skip that ingredient.
Patch testing saves time, money, and your skin barrier.
Build a Basic Herbal Routine (AM/PM)
Morning Routine (5 Steady Steps)
- Cleanse: a mild gel or a creamy cleanser.
- Hydrate/Tone: mist or toner with aloe, rose water, or green tea.
- Treat: light serum with licorice, centella (gotu kola), or green tea polyphenols.
- Moisturize: choose gel for oily skin, cream for dry skin. Look for squalane, oat, calendula.
- Sunscreen: broad-spectrum SPF 30+ daily. Herbal care works best when you protect it from the sun.
Night Routine (Repair Mode)
- Cleanse: single cleanse if bare-faced; double cleanse if you wore sunscreen/makeup.
- Treat: alternate tea tree, willow bark, or niacinamide with soothing nights (centella, panthenol).
- Moisturize: lock in hydration with a simple moisturizer; add a few drops of rosehip seed oil if dry.
Kitchen to Vanity: Simple Herbal DIYs That Work
Keep DIYs clean, small-batch, and refrigerated. If it smells off or changes color fast, toss it.
Soothing Aloe + Green Tea Gel (All Skin Types)
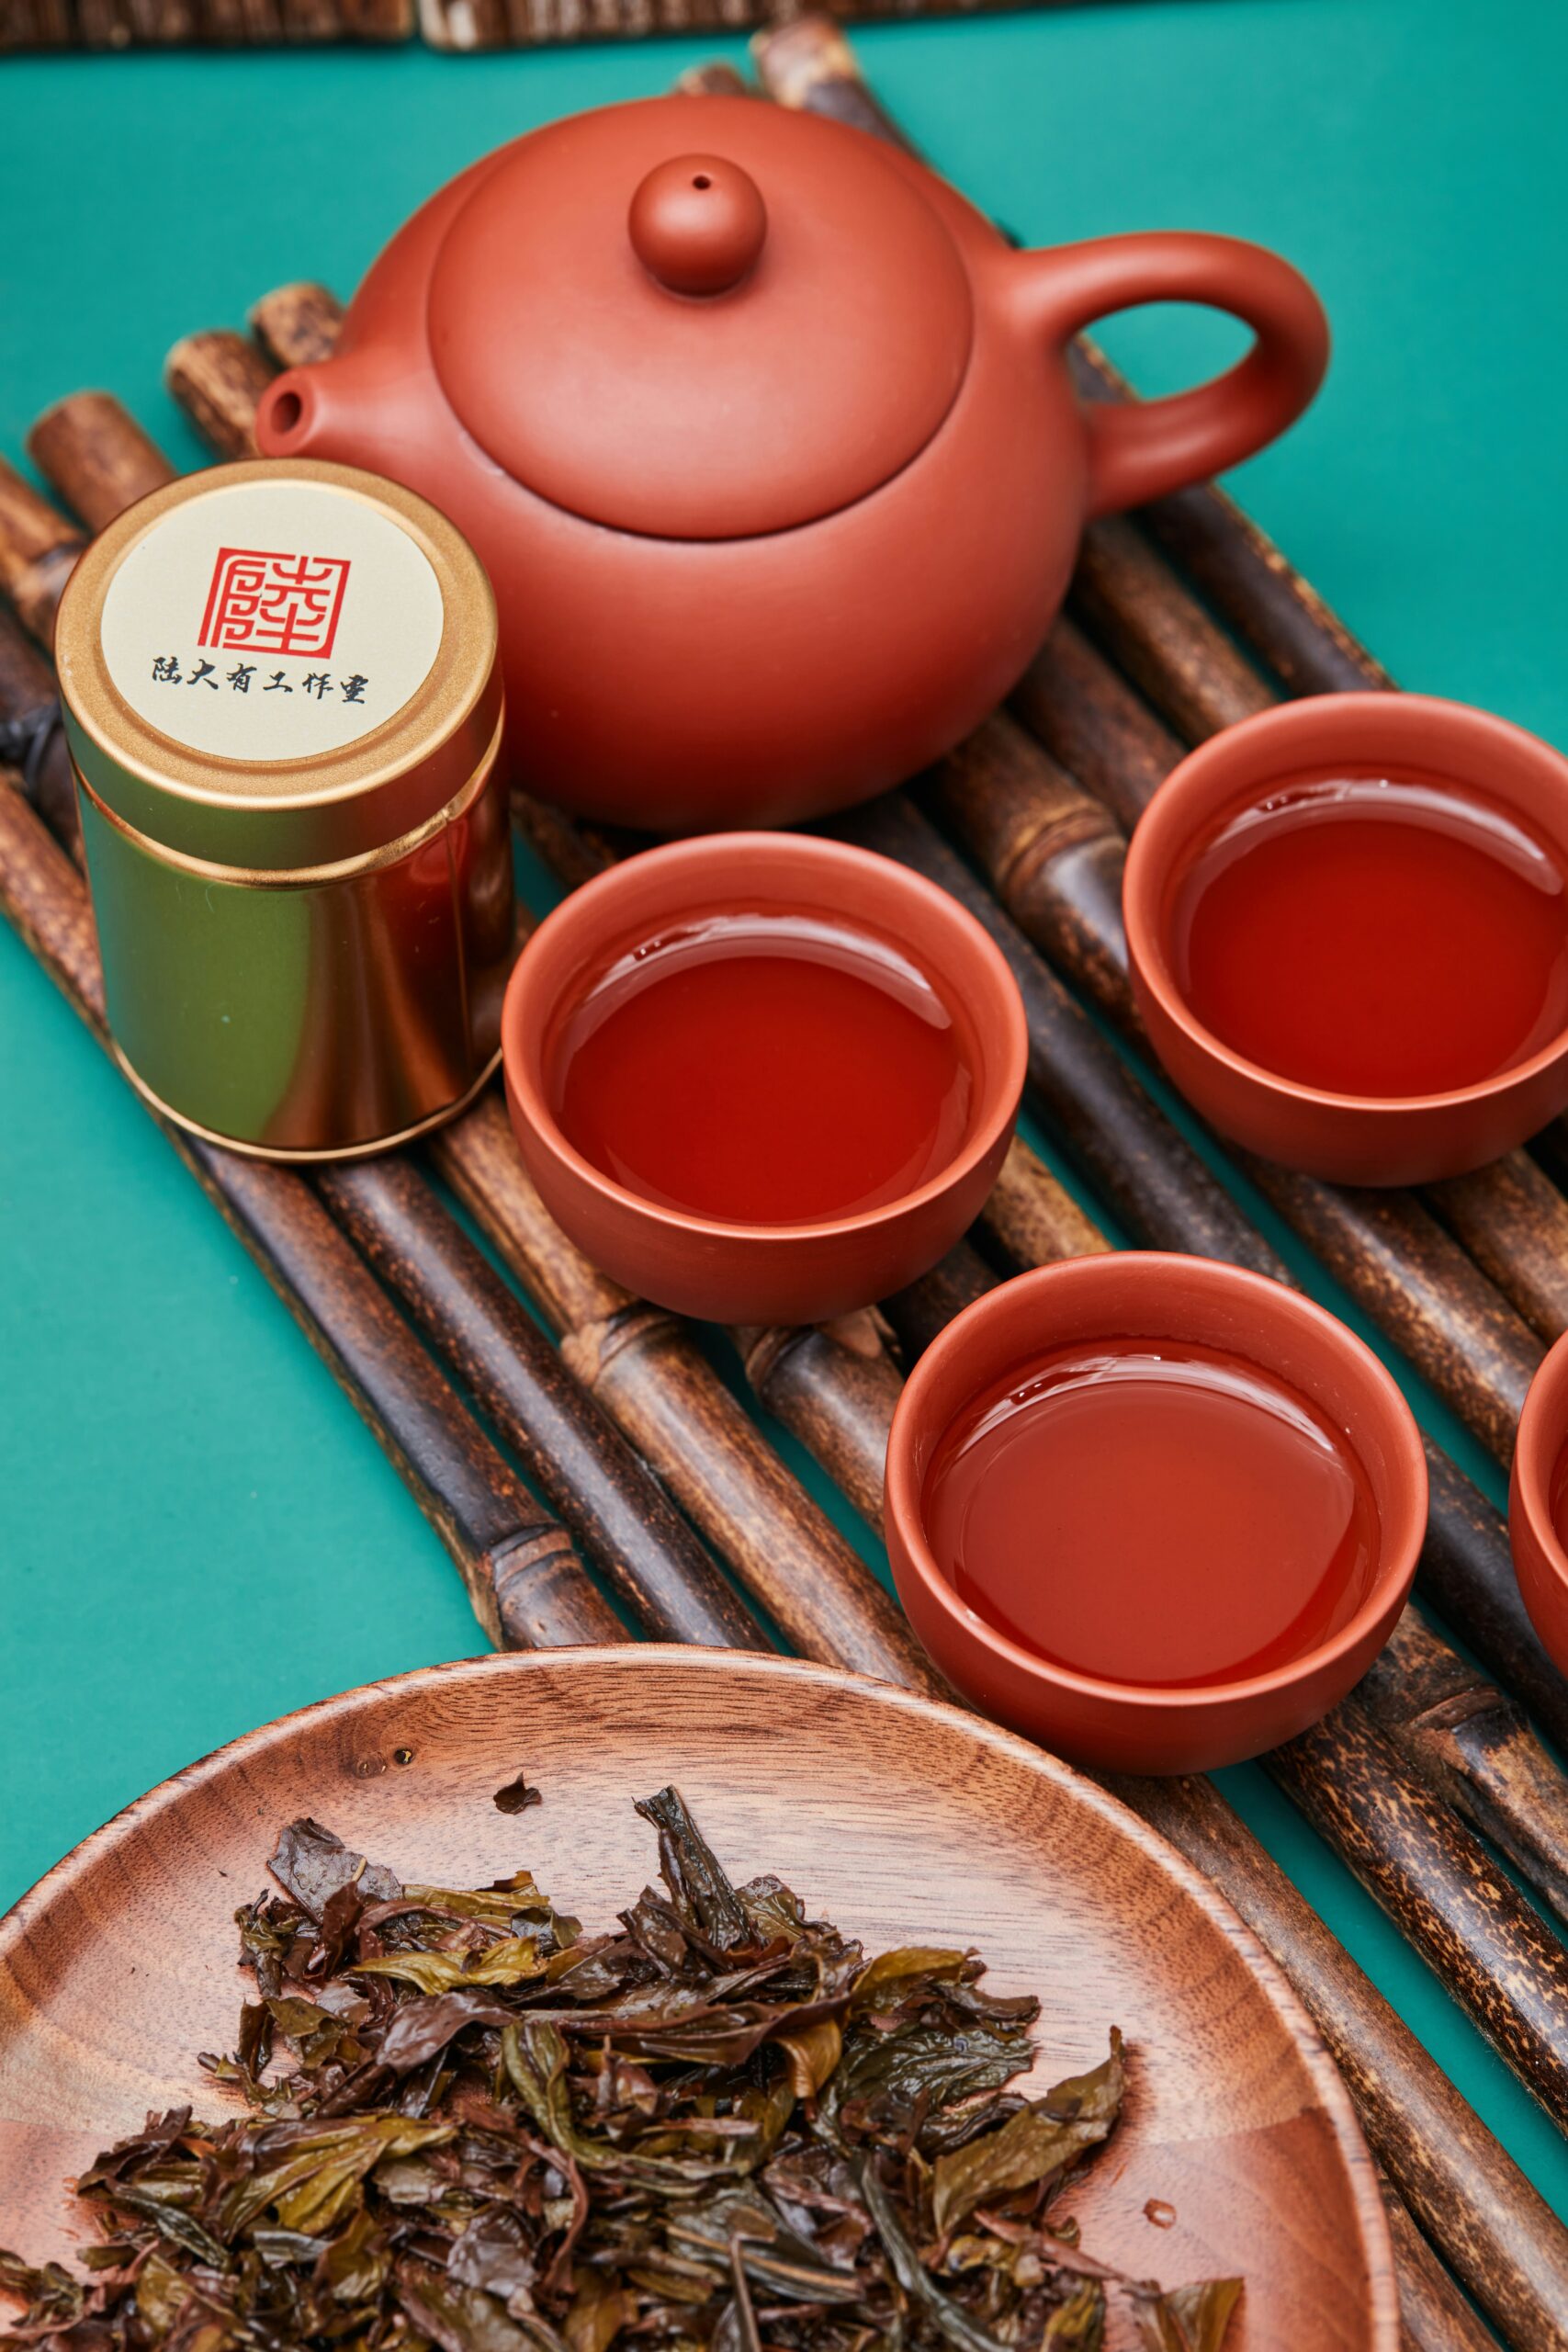
- Brew green tea (strong, cooled). Mix 1 tbsp with 2 tbsp pure aloe gel.
- Store in the fridge for up to 3 days.
- Pat on as a calming layer under moisturizer.
Brightening Turmeric Yogurt Mask (Dull, Uneven Tone)
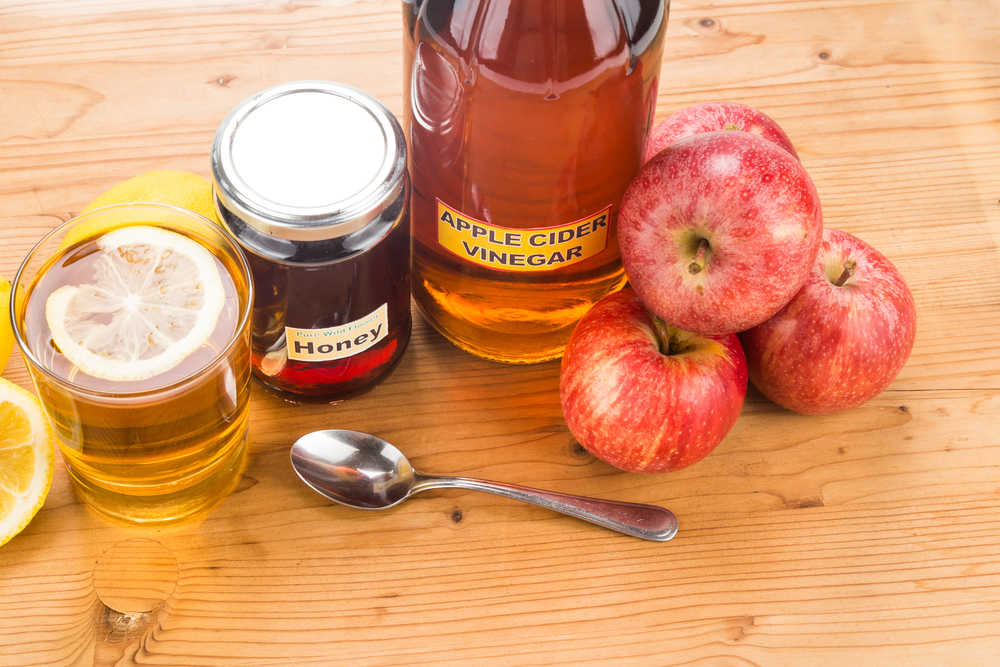
- 1 tsp plain yogurt + a pinch of turmeric + ½ tsp honey.
- Apply for 8–10 minutes, then rinse. Use once weekly to avoid stains and irritation.
Balancing Neem-Clay Spot Treatment (Blemish-Prone)
- 1 tsp clay + a drop of neem oil + water to form a paste.
- Dab on spots for 10 minutes, rinse well. Use 1–2× weekly.
Best Herbs by Skin Goal
Clearer Skin and Oil Control
- Tea tree, neem, willow bark, thyme hydrosol.
- Start 2–3× weekly and increase if skin stays calm.
Redness and Sensitivity
- Centella (gotu kola), chamomile, calendula, oat extract.
- Pair with fragrance-free formulas to lower irritation risk.
Brightening Dark Spots
- Licorice root, turmeric, rosehip, bearberry (arbutin source).
- Always use sunscreen to maintain gains.
Fine Lines and Firmness
- Rosehip, bakuchiol (from babchi), ginseng, rosemary extract.
- These support smoother look over time with consistent use.

How to Layer Herbal Actives with Regular Skincare
- Thinnest to thickest: toner → water-based serum → oil-based serum → cream → sunscreen (AM).
- Avoid stacking too many actives: e.g., don’t use strong acids with potent essential oils in the same routine.
- Buffer with moisture: if a herbal active tingles, layer a hydrating toner or serum first.
Safe Strengths, Dilutions, and Shelf Life
- Essential oils: keep total concentration at ≤ 0.5% for face; many people do better at 0.1–0.3%.
- Carrier oils: a few drops is enough; press into damp skin.
- Watery DIYs: last 24–72 hours in the fridge without preservatives.
- Oil-only blends: can last longer, but store away from heat and light.
Buying Ready-Made Herbal Products (What to Check on the Label)
- INCI list: look for the herb near the top if you want meaningful amounts.
- Extraction type: “extract,” “distillate,” “hydrosol,” or “CO2 extract” gives clues about potency.
- Allergens and fragrance: essential oils, citrus, and menthol can irritate; choose fragrance-free if sensitive.
- Packaging: pumps or opaque bottles help keep formulas stable.
Seasonal and Climate Tips for Herbal Care
- Hot, humid weather: lean into aloe, green tea, and light gels; avoid heavy oils midday.
- Cold, dry weather: add oat, shea, squalane, and rosehip; consider a humidifier at night.
- Polluted cities: prioritize antioxidants (green tea, rosemary) and gentle cleansing.
Common Mistakes to Avoid
- Skipping sunscreen: brightening herbs can’t outwork UV exposure.
- High doses of essential oils: more is not better—more is often irritation.
- Mixing too many actives at once: test one change for 2–3 weeks before adding another.
- Ignoring expiry: old DIYs can host bacteria; short shelf life is part of the trade-off.
Who Should Be Careful or Avoid Certain Herbs
- Pregnant or nursing: check safety for clary sage, rosemary, and high-dose licorice; when in doubt, skip or ask a professional.
- Very sensitive or eczema-prone skin: avoid strong essential oils (peppermint, cinnamon, citrus peels).
- Allergy history: if you’re allergic to ragweed, be cautious with chamomile and related plants.
Quick Routine Templates for Different Skin Types
Oily/Acne-Prone
AM: Gel cleanse → Green tea toner → Willow bark serum → Gel moisturizer → SPF
PM: Cleanse → Tea tree or niacinamide serum (alternate nights) → Light lotion
Dry/Dehydrated
AM: Creamy cleanse (or rinse) → Aloe + oat toner → Centella serum → Cream moisturizer → SPF
PM: Cleanse → Rosehip oil (2–3 drops) → Ceramide cream
Combination
AM: Gentle cleanse → Aloe mist → Licorice serum → Light cream → SPF
PM: Cleanse → Spot treat with neem-clay → Centella gel → Moisturizer
Sensitive
AM: Rinse with water → Oat/centella toner → Panthenol serum → Fragrance-free cream → SPF
PM: Creamy cleanse → Calendula serum → Balm or cream
FAQ: Short Answers to Popular Questions
How long until I see results?
Most people notice calmer skin in 2–3 weeks and brighter tone in 6–8 weeks with daily SPF.
Can I use herbs with retinol?
Yes—use soothing herbs (centella, oat, aloe) on non-retinol nights or underneath as a buffer.
Are essential oils mandatory?
No. Many skins do best without essential oils. Hydrosols and extracts are gentler options.
What about acne spots?
Use targeted willow bark or tea tree sparingly, then moisturize to prevent barrier damage.
Final Checklist You Can Save
- Patch test every new ingredient.
- Start low, go slow, track changes for 2–3 weeks.
- Use sunscreen daily—non-negotiable.
- Prefer fragrance-free if you’re reactive.
- Keep DIYs small and refrigerated.
- Layer thinnest to thickest.
- Choose herbs that match your skin goal, not trends.
Bottom Line
Herbal skincare works best when you treat plants like smart actives: gentle, consistent, and paired with sun protection. Begin with calming basics, add one targeted herb at a time, and let your skin lead the way. If irritation appears, scale back and simplify. With patience and the right choices, you’ll build a routine that feels good, looks good, and lasts.

